Blog Posts
Blogging with Jekyll
Creating a blog with Jekyll is really, really easy. By default Jekyll is ready to maintain your blog posts, and track the posts on the main page. All you need to do to get started blogging is to start adding content.
Blog posts should be put into the _posts directory and generally written as Markdown files, though they can also be HTML. The files must be named using the YYYY-MM-DD-name-of-post.ext format. While Markdown (.md) tends to be the default format for writing posts, the file extension represents the type of markup used.
Examples might be:
- 2017-10-07-welcome-to-jekyll.markdown
- 2017-10-08-this-is-so-cool.md
- 2017-10-09-awesome-stuff.html
Don’t use spaces in your file names. It’s just a really bad practice for the web. Also, keep your life simple by using only lowercase letters in your file names. If you’re using Windows, it is really easy to end up with broken links due to case-sensitivity issues with web servers running other operating systems that are case-sensitive (whereas Windows is not).
Sample post
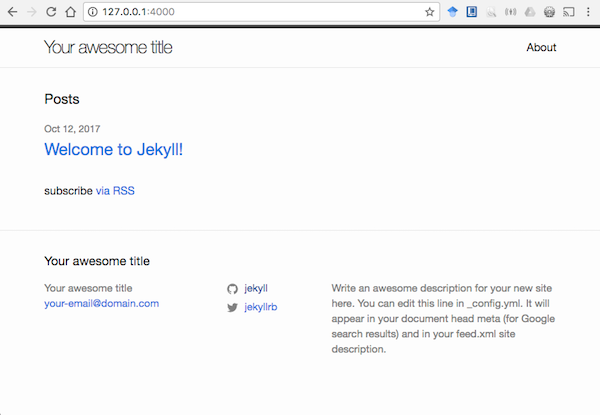
Before adding new posts, take a look at the default post that was created for you in the _posts directory when you initialized your site. If you click the “Welcome to Jekyll” link on the site Home page in your browser, you will see that the first post looks something like this:
Now open the page from the _posts directory in a text editor.
First, notice the YAML front matter:
---
layout: post
title:  "Welcome to Jekyll!"
date:   2017-10-07 14:06:47 -0500
categories: jekyll update
---
The front matter can configure a custom layout for a page, but post is the default layout for a blog post. This layout is configured in the theme, which we will look at more closely later.
The title is often used throughout the theme as the title of your post or page. Generally both blog posts and pages are given a title.
The date is used as a timestamp for when your post was made. While the date is also part of the file name, the file name date is more organizational (for file sorting), while this date is used more for display purposes. Nothing will keep those two things in sync but you.
The categories property allows you to tag or group your blog posts into categories for better usability. While the default minima theme doesn’t do much with this, other themes do. It’s not too difficult to add and we’ll look at how to do this as we customize our layout.
The remainder of the file content is written in Markdown. Most of the content is just words or plain text. However, notice that links are written with the text part first in square-brackets [] with the URL following in parenthesis ().
There is also built-in support for code highlighting. Code snippets can be put into back-tics to highlight it. Short snippets can be placed in single back-tics, while multi-line snippets can be placed in triple back-tics. For larger, multi-line code snippets though, it is nicer to put those in special highlight blocks that can specify the language of the code to alter the syntax highlighting.
Add some posts
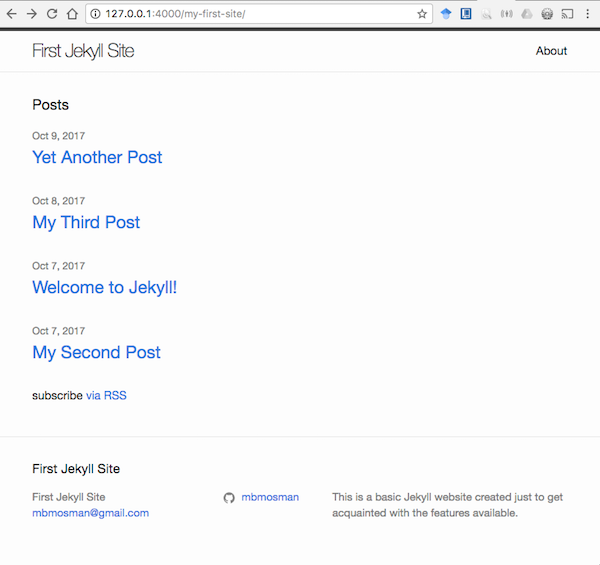
Now that we have taken a look at a sample post, let’s add a few more posts to get a feel for how Jekyll will handle multiple posts on our site. Add 3-4 more blog posts to the _posts directory. As you make additional posts, back-date them. By default, Jekyll will not show posts with a future date.
Don’t think too hard about content right now. Just copy/paste the default post and make some quick changes, or use some Lorem Ipsum text. Don’t get distracted and lose the focus on Jekyll.
Now take a look at the site Home page, and you’ll see that you have a list of all of your posts with the newest post at the top. They are sorted using the time from the date property in the post front matter.
Next let’s look at how to add other content that isn’t a blog post.